
As much as I really love to paint my nails, I really don’t like dealing with my feet. At all. However, professional pedicures are expensive, and I’m horrendously ticklish so they’re not a lot of fun either. And since it’s summer (or something like that here in Newfoundland), I want my feet to look not-gross in sandals. So here are my steps for achieving a perfect at home pedicure!
You’ll need:

1. A foot file of some kind. I used a
Ped Egg
.
2. Exfoliating scrub.
3. A rich moisturizer. I love
naked body butter by bliss
.
4. Cuticle remover.
5. Cuticle pusher.
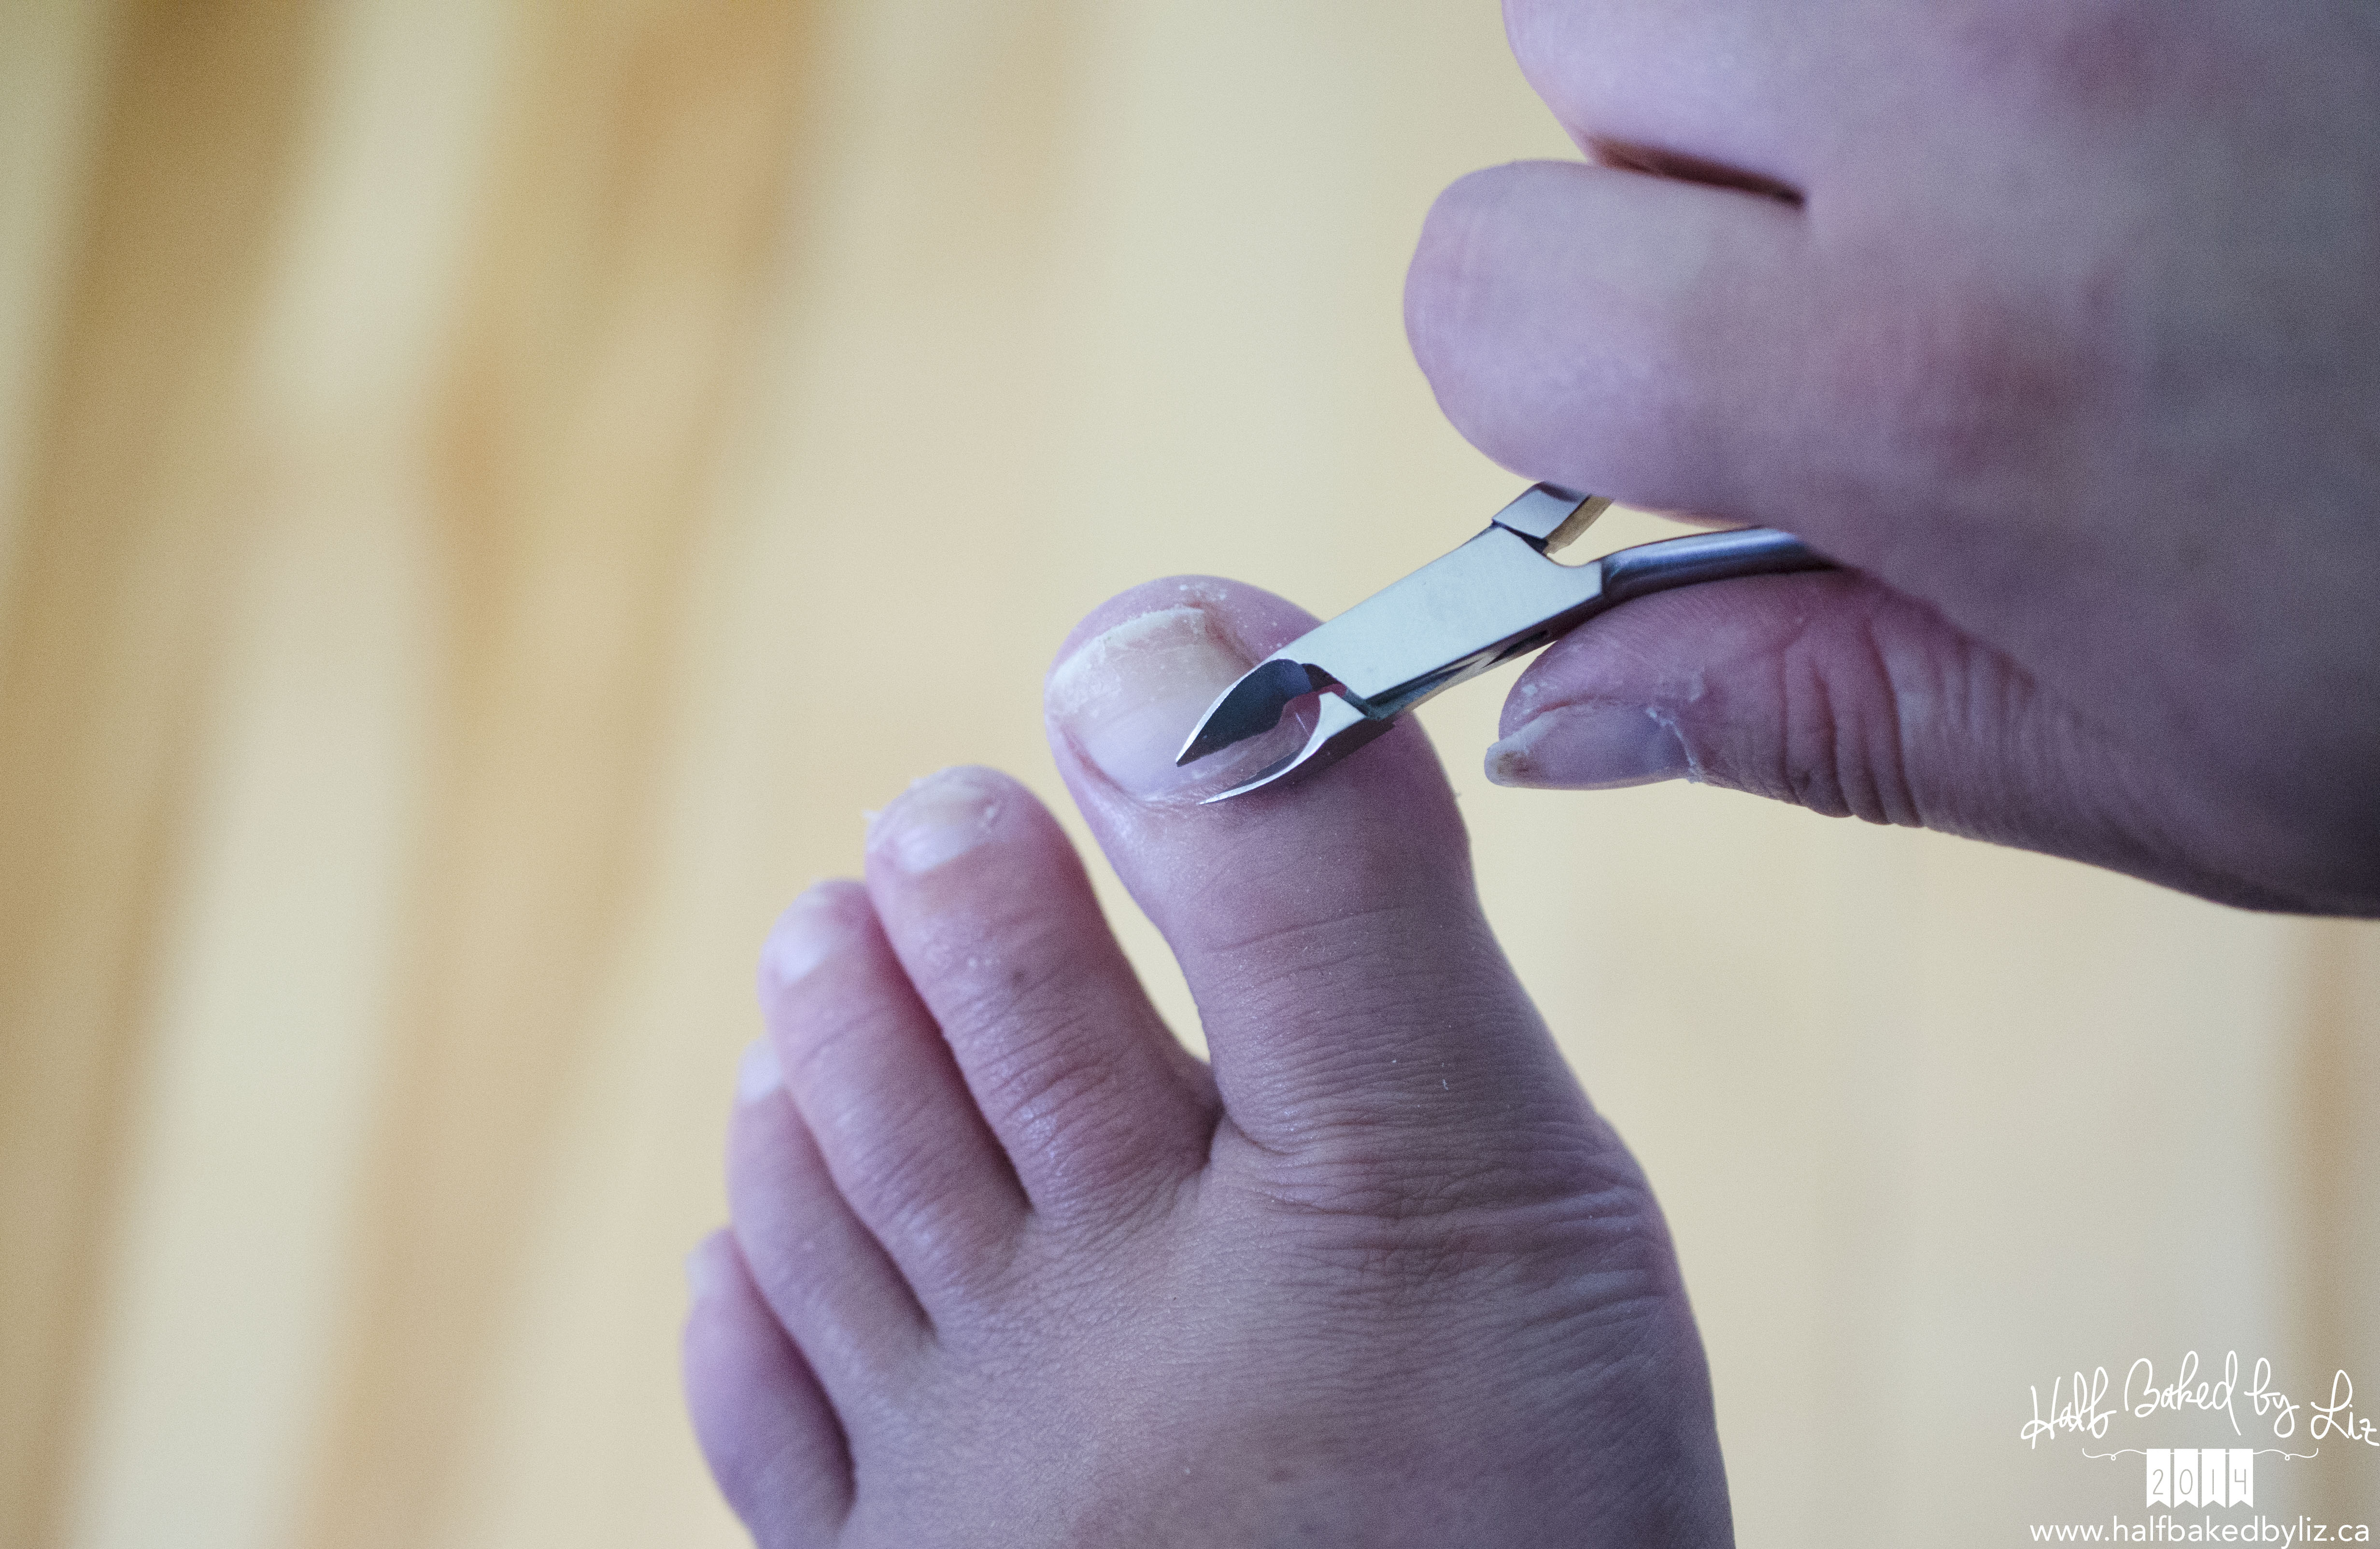
6. Cuticle cutter.
7. Nail file.
8. Nail buffer.
9. Cuticle Oil.
Start by filing the dead skin off your heels.

Soak your feet in warm water, and massage with exfoliating scrub.


Next, moisturize!

To prep your toenails for polish, I follow the same steps as I follow for prepping my fingernails .
Apply cuticle remover (it doesn’t actually “remove”, it just softens), push your cuticles back, and trim any excess cuticle bits or hang nails.


File your nails and buff the nail surface.


Wipe each nail with alcohol to remove any filing dust and moisturizer residue. Then you’re ready for polish! Use a base coat + 2 coats of colour + top coat.

Once they’re dry, apply cuticle oil.

And you’re done! A little hard work, but just as good as the salon!

